Examples
PS2 SCART to JP21
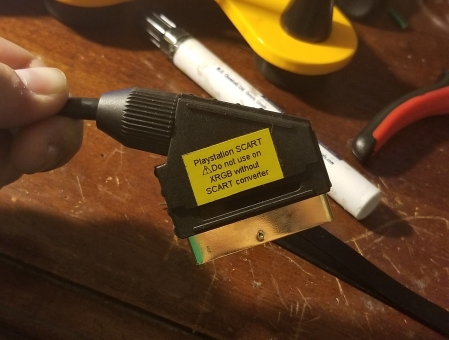
This cable was sent to me to be rewired from SCART to JP21. Since it is intended to be used only on a PS2, I will also be removing the 3 220uf capacitors on the RGB lines as these are already present inside the console.
Disassembly
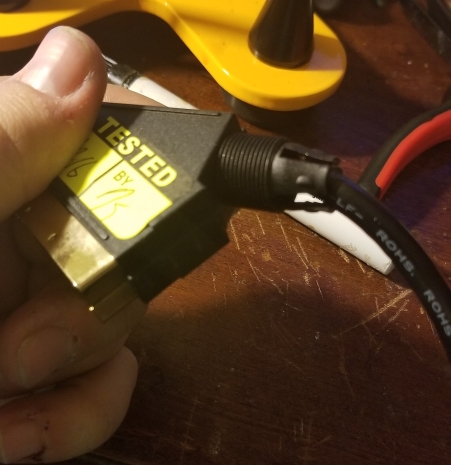
SCART connectors are easy to disassemble. Just unscrew the cap and carefully pry the two halves apart, being careful not to break the plastic (this is really easy to do on low quality connectors.
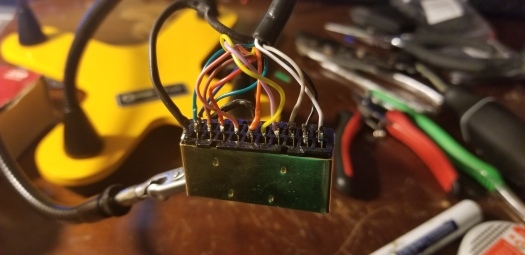
Take Notes
Here it is probably a good idea to take a picture of the inside so you can keep track of how the cable is wired.

Do The Swap
Following a wiring diagram (like the one on this page), rearrange the wires. Red, Red Ground, Blanking, and Audio Ground stay in the same place. Make sure to use the IN pins for sync and audio. There is a resistor that runs from AV Control (SCART pin 8) to the blanking pin, and a wire connected to the AV control pin, so the wire and one end of the resistor need to be moved. The capacitors on the RGB lines were removed. You may need to use some flux or add solder to pins that are unused in the SCART configuration, but for the most part the existing solder should suffice.
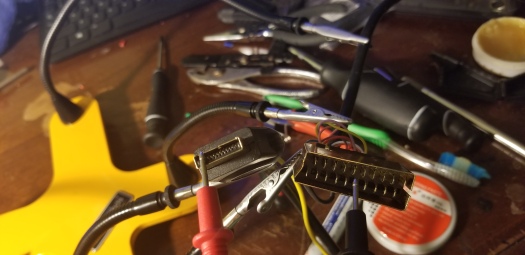
Check Your Work
Using a multimeter and a pinout for the cable type, make sure to check for continuity to ensure that you have good connections on all of the pins and that you didn’t make any mistakes. I found out I had the left and right audio switched and was able to correct it.

Reassemble by carefully pressing the two halves of the case back together, making sure not to pinch any wires. Screw the cap back on and you are good to go!
